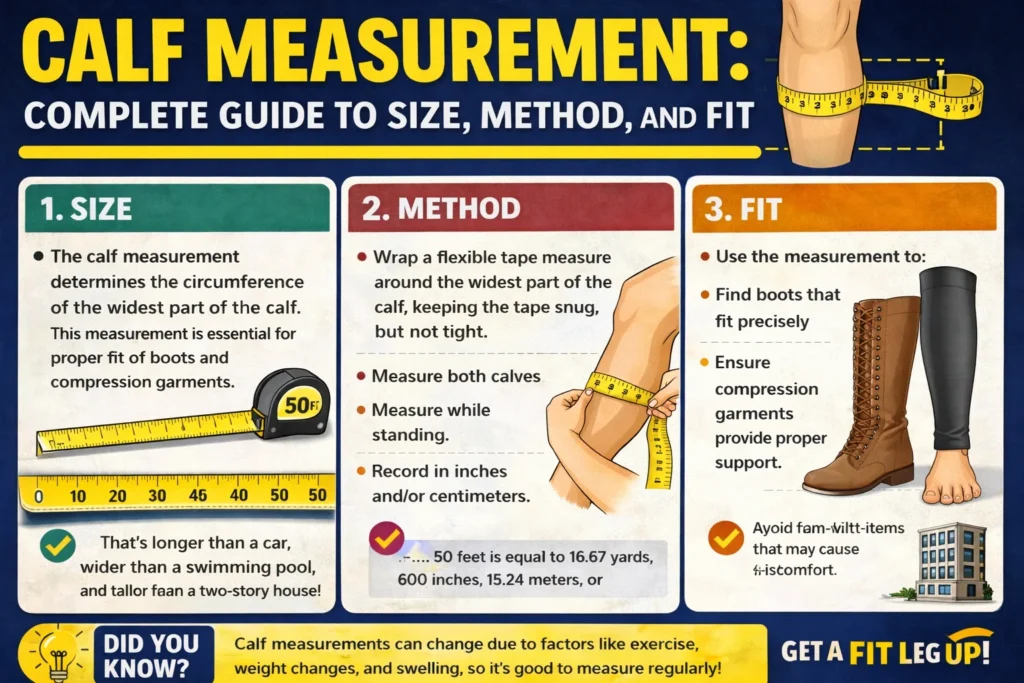
How to Measure Your Calf Circumference, Step by Step
Two minutes with a soft tape now can save you a returned pair of boots…
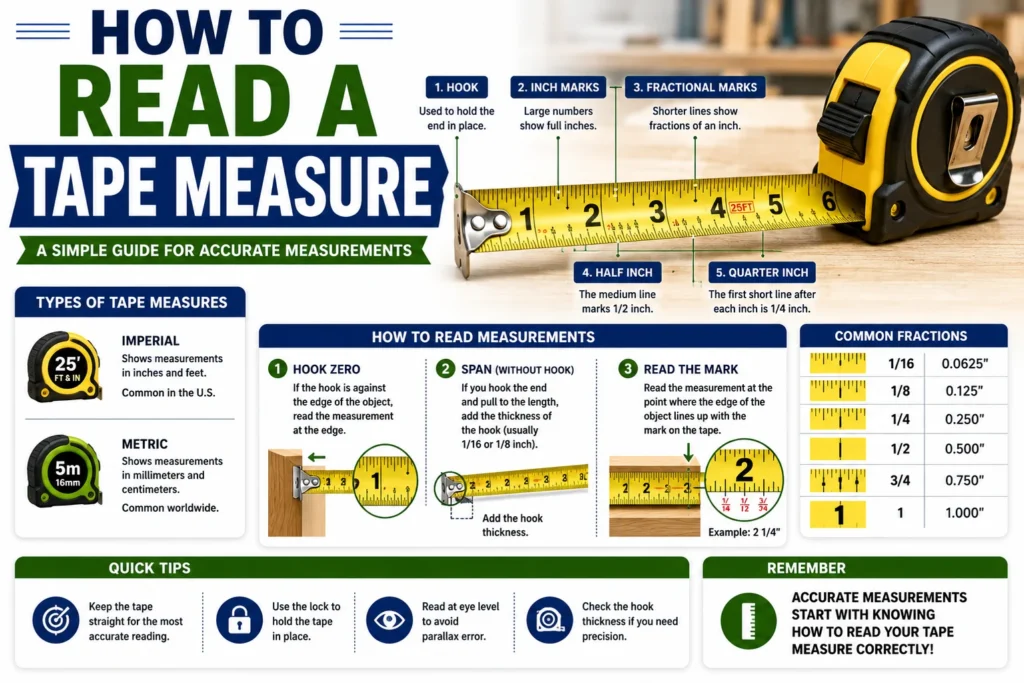
If you’ve ever looked at a tape measure and wondered what all those tiny lines mean, you’re not alone. Learning how to read a tape measure is one of the most useful DIY and home improvement skills you can have.
Whether you’re measuring furniture, hanging shelves, cutting wood, or working on a construction project, understanding a tape measure helps you make accurate measurements and avoid costly mistakes.
The good news? Reading a tape measure is much easier than it looks.
In this beginner-friendly guide, you’ll learn:
Let’s get started.
A tape measure is a flexible measuring tool used to determine the length, width, or height of objects.
Most tape measures include:
Many tape measures display both measurement systems on the same blade.
Before reading measurements, it’s helpful to understand the basic parts.
The small metal piece at the end attaches to the object being measured.
The long metal strip containing measurement markings.
Keeps the tape from retracting while measuring.
The plastic or rubber housing that stores the tape.
The imperial side is commonly used in the United States.
It measures:
The large numbered marks represent inches.
Every 12 inches equals:
Example:
Between every inch are smaller lines.
Each line represents a fraction of an inch.
The most common markings are:
| Marking | Measurement |
|---|---|
| Long line | 1 inch |
| Next longest | 1/2 inch |
| Medium | 1/4 inch |
| Short | 1/8 inch |
| Very short | 1/16 inch |
Most standard tape measures are divided into 16 parts per inch.
Here’s how the marks are arranged between 0 and 1 inch:
The longer the line, the more important the fraction.
Suppose the tape ends here:
7 and 5/8 inches
You would read it as:
Final measurement:
7⅝ inches
The metric side is much simpler.
It uses:
Each numbered mark equals:
Between each centimeter are:
Each small line equals:
If the tape reaches:
The measurement is:
18.6 cm
or
186 mm
Metric measurements are usually easier because they use decimal values instead of fractions.
Follow these simple steps:
Hook the metal end onto one edge.
Pull the tape straight.
Lock the tape.
Read the measurement where the object ends.
Always measure from the inside edge of the hook.
Many tape measures include black diamonds.
These marks are used for:
Most homeowners don’t need them for everyday measuring.
Example:
Example:
Example:
| Imperial | Metric |
| Inches | Centimeters |
| Feet | Meters |
| Fractions | Decimals |
| Common in the U.S. | Used in most countries |
Both systems are accurate—the best one depends on where you live and the project you’re working on.
Try reading these measurements:
Ends at:
4 inches plus one-half
Answer:
4½ inches
Ends at:
9 inches plus one-quarter
Answer:
9¼ inches
Ends at:
12 centimeters plus 8 millimeters
Answer:
12.8 cm
Practicing with your own tape measure is the fastest way to build confidence.
Many beginners make these mistakes:
Taking your time helps improve accuracy.
Read the large numbered marks as inches and the smaller lines as fractions such as ½, ¼, ⅛, and 1/16 inch.
The small lines represent fractional parts of an inch or millimeters on the metric side.
The metric side shows centimeters and millimeters.
Practice measuring everyday objects like books, tables, and boxes.
The hook is designed to move a tiny amount so measurements remain accurate whether you’re measuring inside or outside an object.
Most tape measures follow standard measurement systems, although some include both imperial and metric scales while others display only one.
A quality tape measure is highly accurate when used correctly and is suitable for most home improvement, woodworking, and construction tasks.
Learning how to read a tape measure is an essential skill for DIY projects, woodworking, home repairs, decorating, and construction. While all the lines may look confusing at first, they become easy to understand once you know what each mark represents.
For imperial measurements, focus on identifying inches and their fractional divisions. For metric measurements, simply count centimeters and millimeters using the numbered markings.
With a little practice measuring everyday objects around your home, you’ll quickly gain the confidence to read both imperial and metric tape measures accurately.
Two minutes with a soft tape now can save you a returned pair of boots…
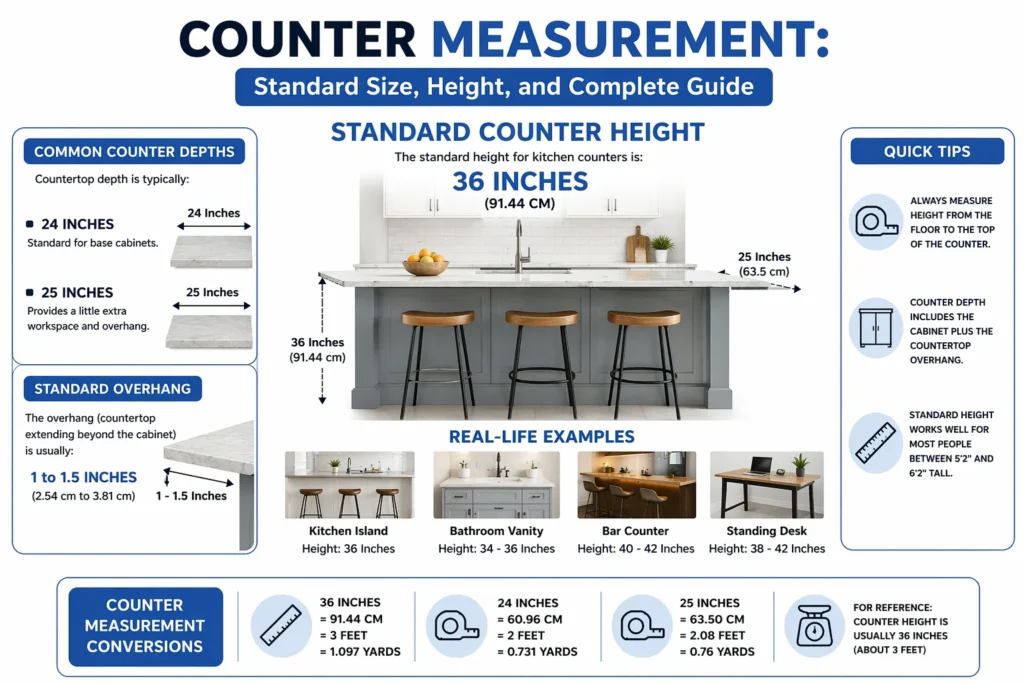
Understanding counter measurement is essential when designing or renovating a kitchen, bathroom, or workspace. Counters…
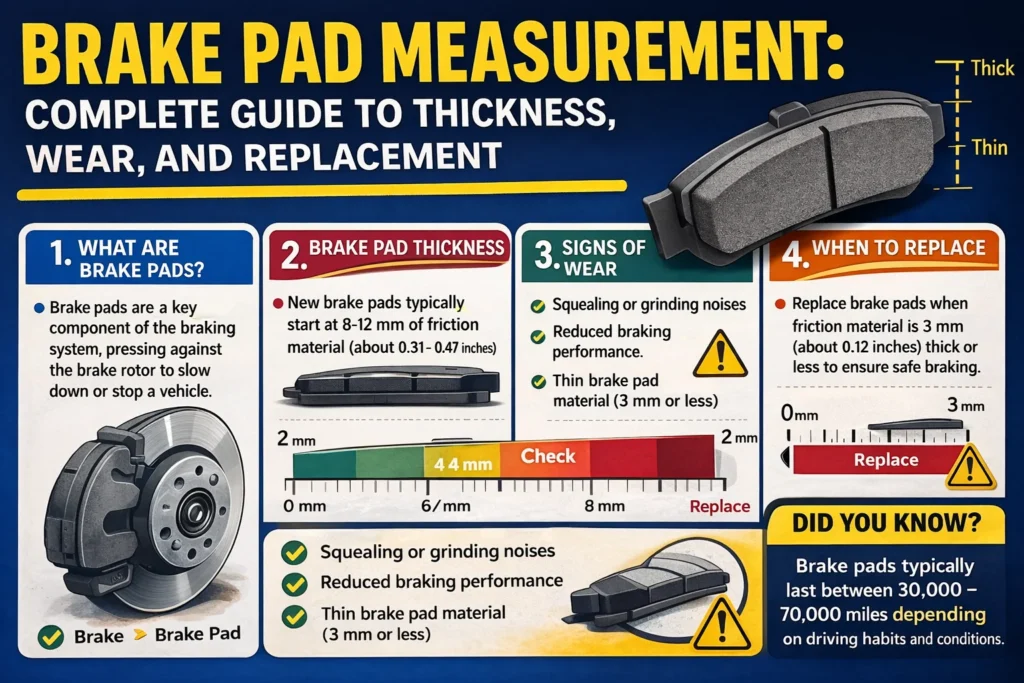
Understanding brake pad measurement is one of the smartest ways to maintain your vehicle. Brake…